
6/16/2019 Webmaster
Using Azure QnA Maker (MS Bot Framework V4 Edition)
The Microsoft Bot Framework V4 allows you to create intelligent bots that interact naturally wherever your users are (text/SMS to Skype, Slack, Office 365 mail and other popular services). The Bot Builder V4 SDK offers new features and is extensible with a pluggable middleware model.
In this article we will build on the example started in the following article: Creating a Hello World! Bot (MS Bot Framework V4). In this article we will cover integrating the QnA Maker service into your Bot. Using the QnA Maker in your Bot allows you to create chat bots that are able to understand and respond to queries by simply looking at a list of questions and answers that you provide.
Requirements
- Visual Studio 2019 (or higher) with the following workloads:
- ASP.NET and web development
- Azure development
- .NET Core cross-platform development
- Bot Builder V4 SDK Template for Visual Studio
- Bot Framework Emulator
- A Microsoft Azure Subscription
What Is QnA Maker?
According to the Microsoft QnA Maker website, the QnA Maker allows you to: “Build, train and publish a simple question and answer bot based on FAQ URLs, structured documents, product manuals or editorial content in minutes”. This really speeds your Bot development because it leverages the abilities of LUIS (Language Understanding Intelligent Service) to understand human conversation, and combines it with a service that allows you to provide a list of questions and answers, or simply upload a product manual or provide a link to a website, and the questions and answers will be parsed for you automatically.
The end result is an incredible amount of functionality that you can add to your Bot easily.
Create The QnA Maker Service
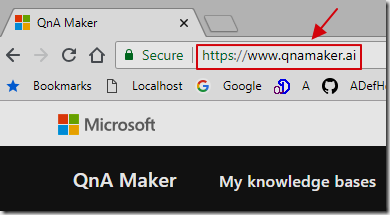
To get started, go to: https://www.qnamaker.ai/, and sign in with your Azure account.

Select Create a knowledge base.
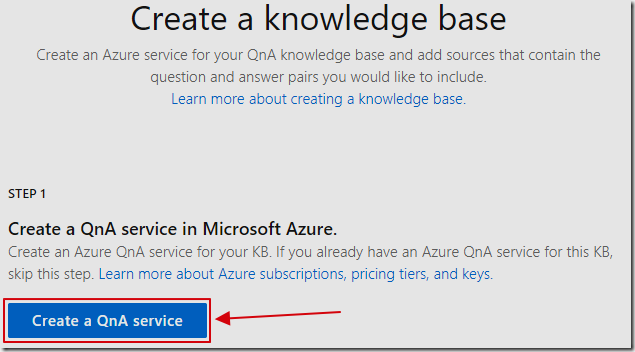
Select Create a QnA service.
Note: This will open a new web browser window.
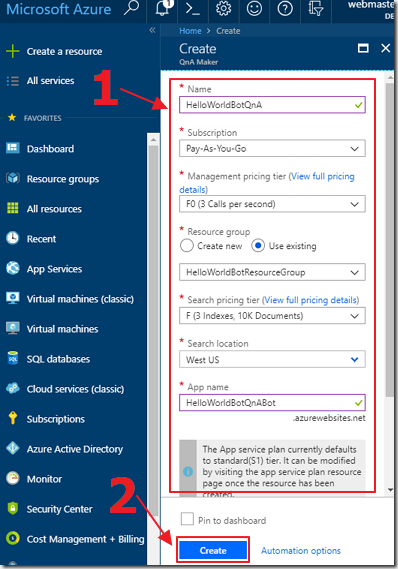
Fill in the details to create the service and click the Create button.
Return to the https://www.qnamaker.ai/ site (the site should still be open on it’s original web browser tab/window).
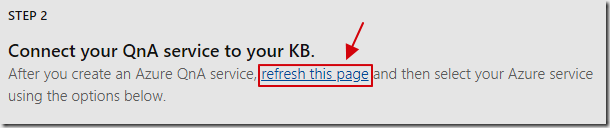
Scroll down the page to the STEP 2 section.
Click the refresh this page link.
The page will query Azure to detect any newly added services.

You will now be able to select the service you just created.
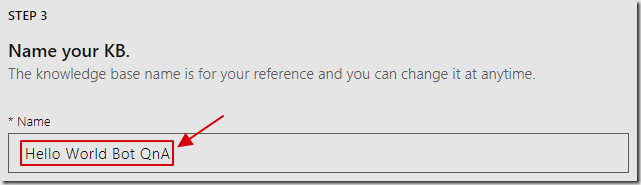
Scroll down the page to the STEP 3 section.
Give the QnA database a name
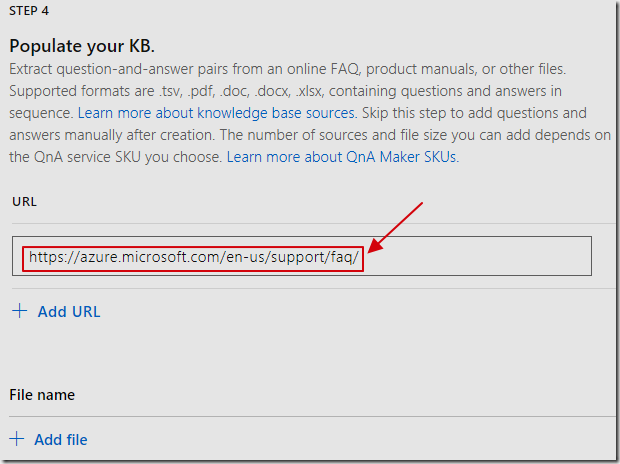
Scroll down the page to the STEP 4 section.
Add a URL to a web page that contains FAQs (Frequently Asked Questions) For example: https://azure.microsoft.com/en-us/support/faq/
(or upload a file with question and answer pairs).
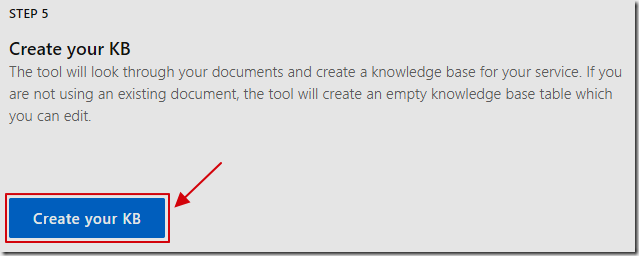
Scroll down the page to the STEP 5 section.
Click the Create your KB button.

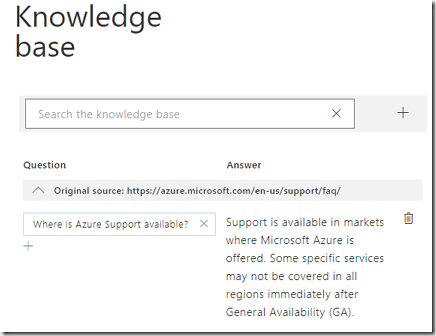
The knowledgebase will be created.
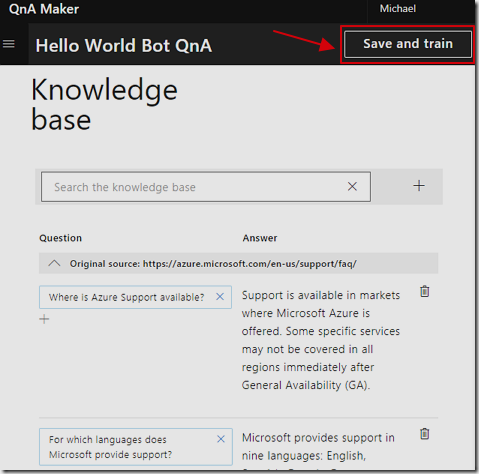
The questions and answers detected on the page will be loaded.
You can update and edit them at this point.
For now, just click the Save and train button.
The knowledgebase will be updated.

Select PUBLISH.
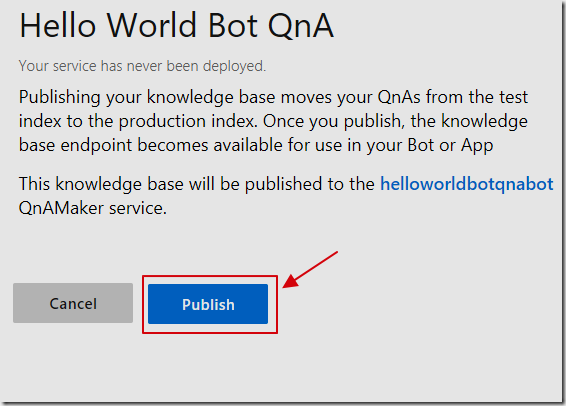
Click the Publish button.
The knowledgebase will be published.
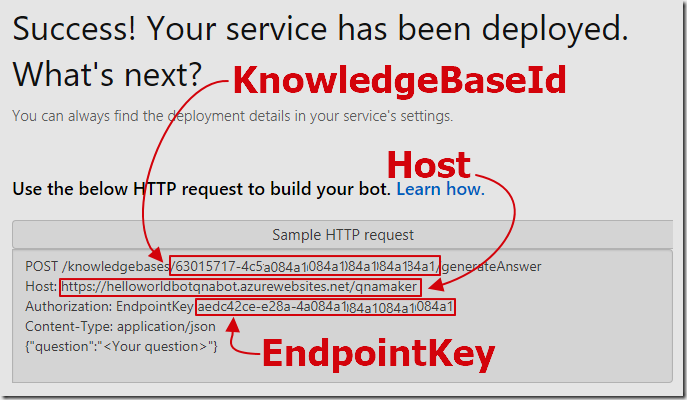
The connection settings will display.
Save them, you will need them later.
Note: You can always get back to these settings by selecting My knowledge bases from the main menu, then View Code for the service.
Update The Bot Code
Open the project created in the article: Creating a Hello World! Bot (MS Bot Framework V4) in Visual Studio 2019 (or higher).
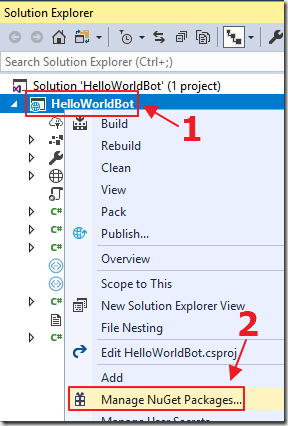
Right-click on the project node and select Manage NuGet Packages.
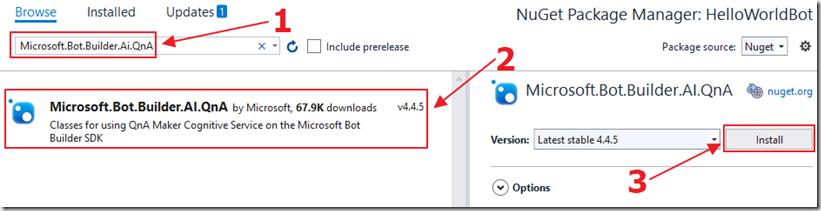
Search for Microsoft.Bot.Builder.Ai.QnA.
Click on Microsoft.Bot.Builder.Ai.QnA, then click the Install button.
(accept any other screens that appear and fully install the package)
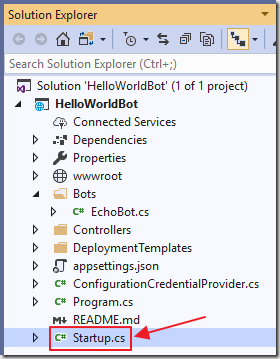
Open the Startup.cs file.
Add the following using statement to the top of the file:
using Microsoft.Bot.Builder.AI.QnA;
Add the following code at the end of ConfigureServices method (but still inside the method):
// Create QnAMaker endpoint as a singletonservices.AddSingleton(new QnAMakerEndpoint{KnowledgeBaseId = "** Your KnowledgeBaseId **",EndpointKey = "** Your EndpointKey **",Host = "** Your Host **"});
Note:
- Enter the Host you saved earlier where it indicates ** Your Host ** (it must be between the quotes)
- Enter the EndpointKey you saved earlier where it indicates ** Your EndpointKey ** (it must be between the quotes)
- Enter the KnowledgeBaseId you saved earlier where it indicates ** Your KnowledgeBaseId ** (it must be between the quotes)
This code returns a QnAMaker that will them be injected into the main code (in the EchoBot.cs file) using dependency injection.
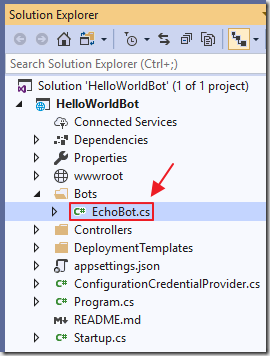
Open the EchoBot.cs file.
Add the following using statements to the top of the file:
using Microsoft.Bot.Builder.AI.QnA;
using System.Linq;
Add the following code to the class:
        public QnAMaker EchoBotQnA { get; private set; }
        public EchoBot(QnAMakerEndpoint endpoint)
        {
            // connects to QnA Maker endpoint for each turn
            EchoBotQnA = new QnAMaker(endpoint);
        }
Change the OnMessageActivityAsync method to:
        protected override async Task OnMessageActivityAsync(ITurnContext<IMessageActivity>
            turnContext, CancellationToken cancellationToken)
        {
            // Pass the response entered by the user through the QnA service
            var results = await EchoBotQnA.GetAnswersAsync(turnContext);
            // Did the Qna Service return any results?
            if (results.Any())
            {
                // Respond with the result from the Qna Service
                await turnContext.SendActivityAsync(
                    MessageFactory.Text("QnA Maker Returned: " + results.First().Answer),
                    cancellationToken);
            }
            else
            {
                // The QnA service did not have any results
                // Proceed with the previous code
                string strIncomingText = turnContext.Activity.Text;
                string strOutgoingText = $"You said: {turnContext.Activity.Text}";
                if (strIncomingText.ToLower().StartsWith("my name is"))
                {
                    strOutgoingText =
                        $"Your name is: {strIncomingText.Substring(10, (strIncomingText.Length - 10))}";
                }
                await turnContext.SendActivityAsync(MessageFactory.Text(strOutgoingText), cancellationToken);
            }
        }
Run the Updated Code
We can now run the application and connect to it with the Bot Framework Emulator (V4) (see: Creating a Hello World! Bot (MS Bot Framework V4 Edition) for information on how to do that).
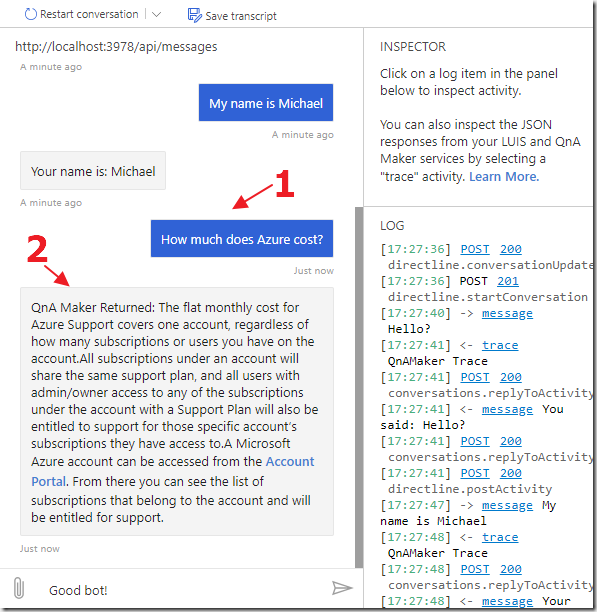
The Bot will behave as before, however, when asked a question that can be answered by the QnA service, it will provide the answer.
However, if the QnA service cannot provide an answer, it wont, and the normal code will run.
Links
Azure Bot Service Documentation for the v4 SDK
Choosing capacity for your QnA Maker deployment
Download
You can download the code from the Download page