
4/2/2017 Webmaster
Using QnA Maker To Easily Create and Consume A Chat Bot

** Note this is outdated – See new information here: https://docs.microsoft.com/en-us/azure/cognitive-services/QnAMaker/how-to/migrate-knowledge-base
Using the QnA Maker website, you can quickly create a Chat Bot based on your existing Frequently Asked Questions (and answers) known as a FAQ.
Note: Also see: Programmatically Updating A QnA Maker Service Using the QnA Maker API.
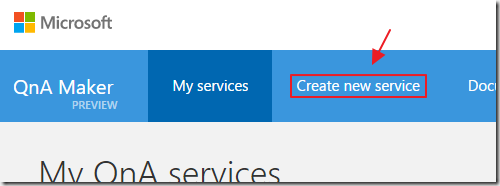
To use it, sign in and select Create new service.

The Creating a QnA service page allows you to enter a name for your service and the web page URL that contains your FAQ (you can also enter the questions and answers manually or you can upload a file with your questions and answers).
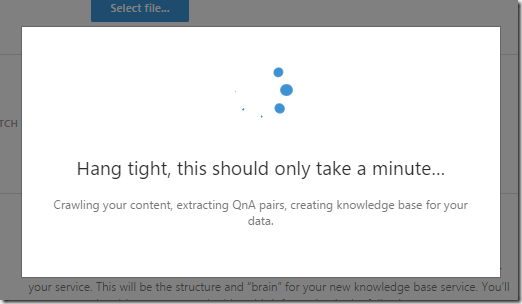
The site will import the FAQ…
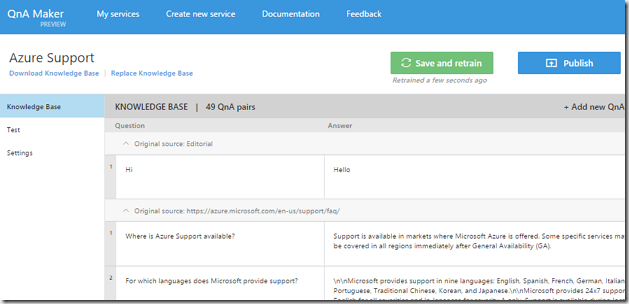
… and then display it in a FAQ database.
You can edit the content of the database on this screen.
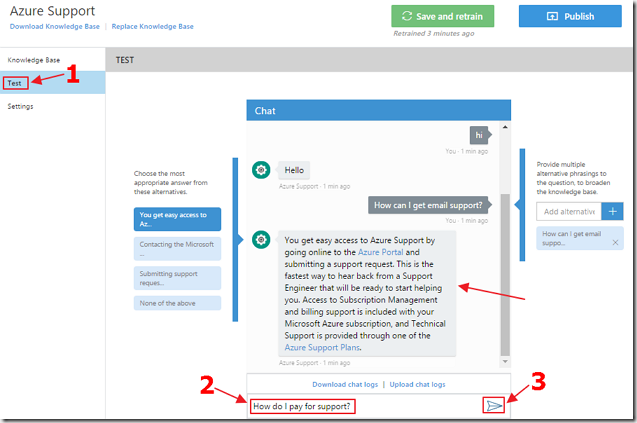
The test screen allows you to chat with the Bot who responds by retrieving the appropriate answer from the FAQ database.
This screen allows you to train the Bot by indicating what answer the Bot should give to a particular question, or by supplying a new answer.

When you have completed training, click the Save and retrain button.
Finally, click the Publish button.
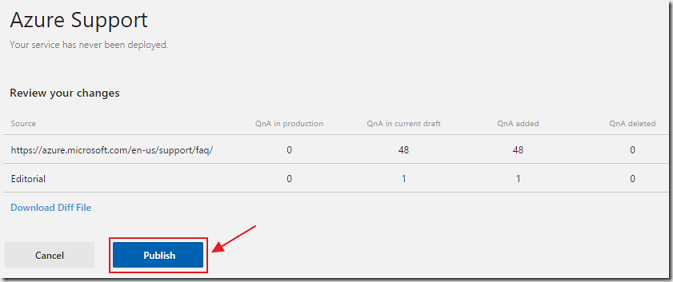
You will see a confirmation screen.
Click Publish again.
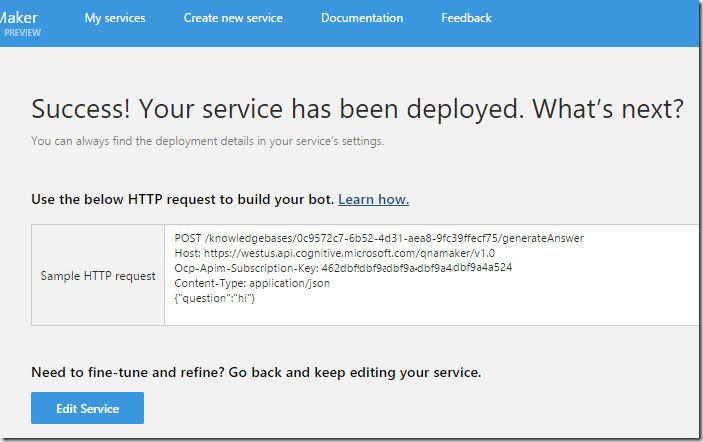
You will then be presented with the information needed to consume the Bot.
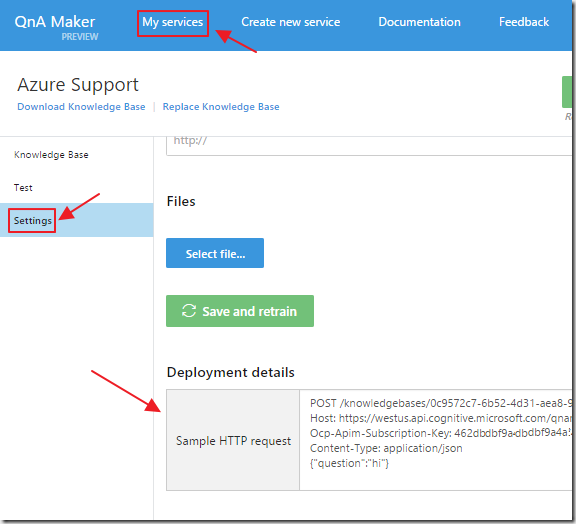
Note, you can always get back to these values by selecting My services, selecting the service, then Settings.
Consume The Service
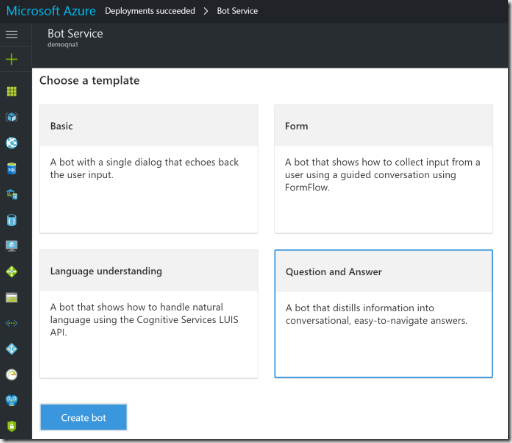
You can create a Microsoft Bot Framework application to consume your Bot. QnA Maker is available as a template on Azure Bot Service.
However, you can also call the QnA Maker service directly, without using the Microsoft Bot Framework, for full control over the user experience.
Create An ASP.NET Core Application
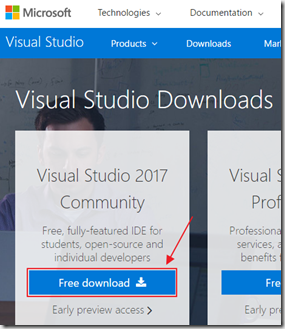
If you do not have it, you can download the free Visual Studio 2017 Community Edition from:
https://www.visualstudio.com/downloads/download-visual-studio-vs
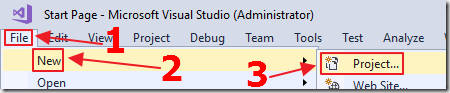
In Visual Studio, select File, then New, then Project.
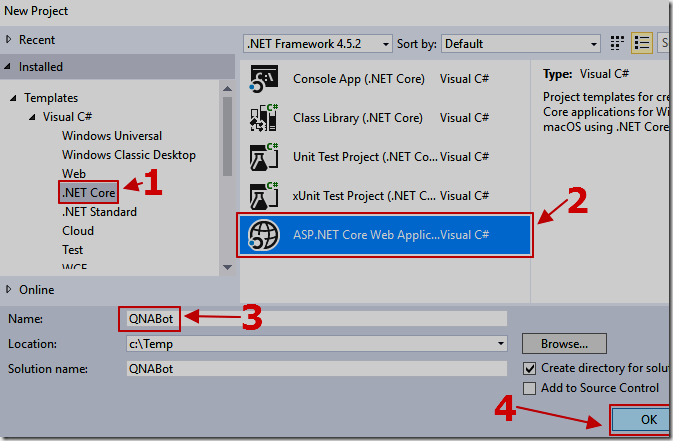
Create a ASP.NET Core Web Application project.
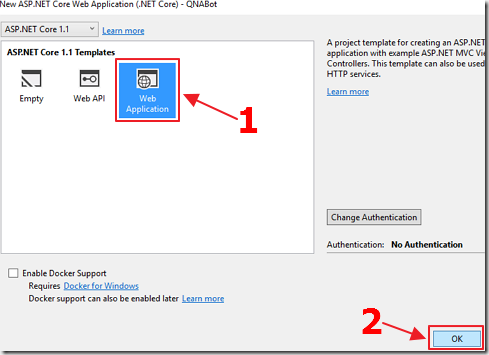
Select Web Application.
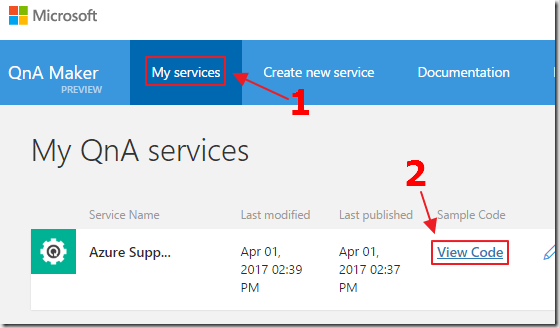
If we log into the QnA Maker website and select My Services, and click on the View Code link next to our service…
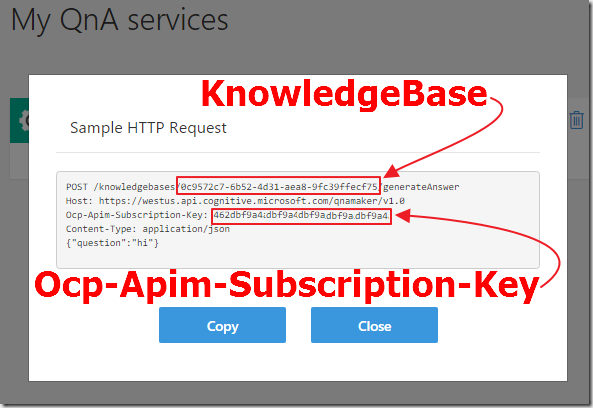
… we can retrieve the KnowledgeBase number and the Ocp-Apim-Subscription-Key.
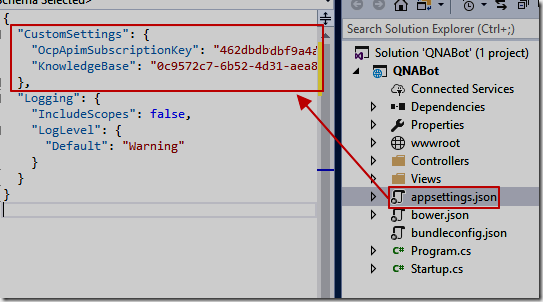
Back in Visual Studio, open the appsettings.json file and add these settings using the following format:
{
  "CustomSettings": {
    "OcpApimSubscriptionKey": "{{ Your OcpApimSubscriptionKey }}",
    "KnowledgeBase": "{{ Your KnowledgeBase }}"
  },
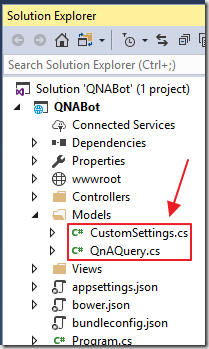
Create a Models folder and add two classes using the following code:
CustomSettings.cs:
using System;
using System.Collections.Generic;
using System.Linq;
using System.Threading.Tasks;
namespace QNABot.Models
{
    // This allows us to retrieve custom settings
    // from appsettings.json
    public class CustomSettings
    {
        public string OcpApimSubscriptionKey { get; set; }
        public string KnowledgeBase { get; set; }
    }
}
QnAQuery.cs:
using Newtonsoft.Json;
using System;
using System.Collections.Generic;
using System.Linq;
using System.Threading.Tasks;
namespace QNABot.Models
{
    // This class is used to hold data when
    // communicating with the QnA Service
    public class QnAQuery
    {
        [JsonProperty(PropertyName = "question")]
        public string Question { get; set; }
        [JsonProperty(PropertyName = "answer")]
        public string Answer { get; set; }
        [JsonProperty(PropertyName = "score")]
        public double Score { get; set; }
    }
}
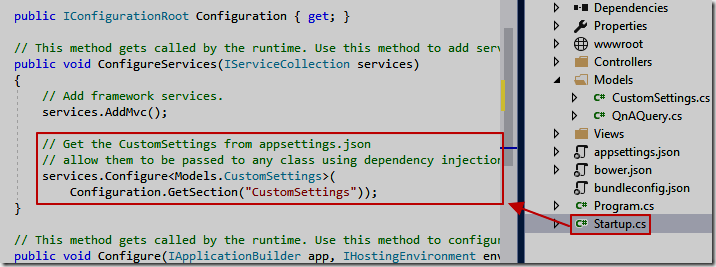
Add the following code to the ConfigureServices method in the Startup.cs file:
    // Get the CustomSettings from appsettings.json
    // allow them to be passed to any class using dependency injection
    services.Configure<Models.CustomSettings>(
        Configuration.GetSection("CustomSettings"));
The Controller
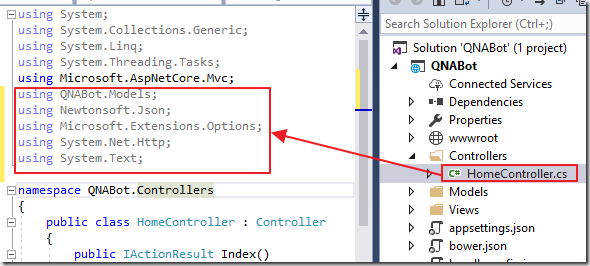
Open the HomeController.cs file and add the follow using statements:
using QNABot.Models;
using Newtonsoft.Json;
using Microsoft.Extensions.Options;
using System.Net.Http;
using System.Text;
Add the following code to the class (to retrieve the values from appsettings.json):
        // Global values to hold the custom settings
        private static string _OcpApimSubscriptionKey;
        private static string _KnowledgeBase;
        // Get the CustomSettings using dependency injection
        public HomeController(
            IOptions<CustomSettings> CustomSettings)
        {
            // Set the custom values
            _OcpApimSubscriptionKey = CustomSettings.Value.OcpApimSubscriptionKey;
            _KnowledgeBase = CustomSettings.Value.KnowledgeBase;
        }
Replace the existing Index method with the following method to retrieve a question and pass back a response (answer):
        public async Task<ActionResult> Index(string searchString)
        {
            QnAQuery objQnAResult = new QnAQuery();
            try
            {
                if (searchString != null)
                {
                    objQnAResult = await QueryQnABot(searchString);
                }
                return View(objQnAResult);
            }
            catch (Exception ex)
            {
                ModelState.AddModelError(string.Empty, "Error: " + ex);
                return View(objQnAResult);
            }
        }
Add the following method to implement the required QueryQnABot method:
       private static async Task<QnAQuery> QueryQnABot(string Query)
        {
            QnAQuery QnAQueryResult = new QnAQuery();
            using (System.Net.Http.HttpClient client =
                new System.Net.Http.HttpClient())
            {
                string RequestURI = String.Format("{0}{1}{2}{3}{4}",
                    @"https://westus.api.cognitive.microsoft.com/",
                    @"qnamaker/v1.0/",
                    @"knowledgebases/",
                    _KnowledgeBase,
                    @"/generateAnswer");
                var httpContent =
                    new StringContent($"{{\"question\": \"{Query}\"}}",
                    Encoding.UTF8, "application/json");
                httpContent.Headers.Add(
                    "Ocp-Apim-Subscription-Key", _OcpApimSubscriptionKey);
                System.Net.Http.HttpResponseMessage msg =
                    await client.PostAsync(RequestURI, httpContent);
                if (msg.IsSuccessStatusCode)
                {
                    var JsonDataResponse =
                        await msg.Content.ReadAsStringAsync();
                    QnAQueryResult =
                        JsonConvert.DeserializeObject<QnAQuery>(JsonDataResponse);
                }
            }
            return QnAQueryResult;
        }
The View
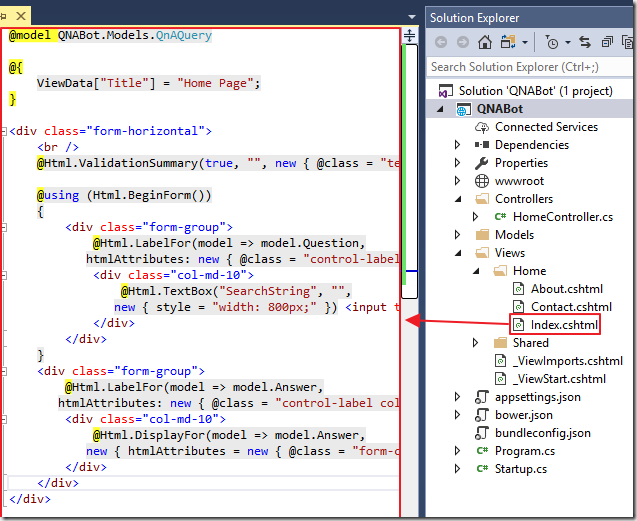
Open the Views/Home/Index.cshtml file and replace all the code with the following code:
@model QNABot.Models.QnAQuery
@{
    ViewData["Title"] = "Home Page";
}
<div class="form-horizontal">
    <br />
    @Html.ValidationSummary(true, "", new { @class = "text-danger" })
    @using (Html.BeginForm())
    {
        <div class="form-group">
            @Html.LabelFor(model => model.Question,
           htmlAttributes: new { @class = "control-label col-md-2" })
            <div class="col-md-10">
                @Html.TextBox("SearchString", "",
               new { style = "width: 800px;" }) <input type="submit" value="Submit" />
            </div>
        </div>
    }
    <div class="form-group">
        @Html.LabelFor(model => model.Answer,
       htmlAttributes: new { @class = "control-label col-md-2" })
        <div class="col-md-10">
            @Html.DisplayFor(model => model.Answer,
           new { htmlAttributes = new { @class = "form-control" } })
        </div>
    </div>
</div>
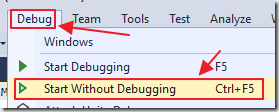
Run the application.
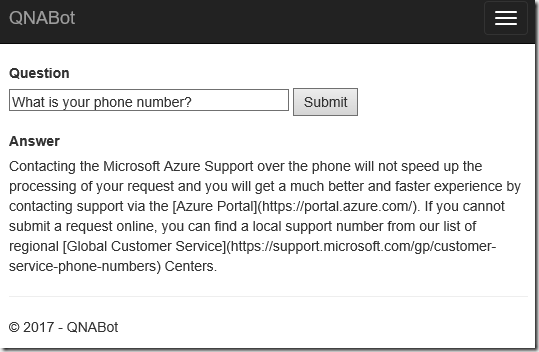
You can now enter questions that will be answered by entries in the FAQ database.
Links
Create your first QnA bot using botframework’s QnA Maker
QnA Maker Dialog for Bot Framework – Gary Pretty
Adding rich attachments to your QnAMaker bot responses – Gary Pretty
Download
You can download the code from the Download page