
7/5/2018 Webmaster
Saving User and Conversation Data With Azure Cosmos DB (MS Bot Framework V4 Preview Edition)
The Microsoft Bot Framework V4 allows you to create intelligent bots that interact naturally wherever your users are (text/SMS to Skype, Slack, Office 365 mail and other popular services). In preview now, the Bot Builder V4 Preview SDK offers new features and is extensible with a pluggable middleware model.
In this article we will build on the example started in the following article: Creating a Hello World! Bot (MS Bot Framework V4 Preview Edition). In this article we will cover saving user state and conversation state data.
Requirements
- Visual Studio 2017 (or higher) with the following workloads:
- ASP.NET and web development
- Azure development
- .NET Core cross-platform development
- The code from the article: Creating a Hello World! Bot (MS Bot Framework V4 Preview Edition) (it is on the Downloads page of this site)
- Bot Framework Emulator (download the latest version even if it is “Alpha”)
- Azure Storage Explorer
- A Microsoft Azure Subscription
What is Bot State?
The Bot Builder V4 Preview SDK provides classes to allow you to read and write data (as an object) that is related to the current user or a specific conversation. This information is important to allow the bot to respond appropriately to incoming messages. For example, to respond to the user by name, you need to store and retrieve user state. To determine if you need to greet the user, in the current conversation, you need to store and retrieve conversation state.
Set Up Azure Storage
You read and write bot state (and data storage) through state manager middleware. This state manager allows you to use various storage mechanisms (in-memory, file, Azure Cosmos DB).
We will use Azure Cosmos DB.
Go to: https://portal.azure.com and log in with your Microsoft Azure account.
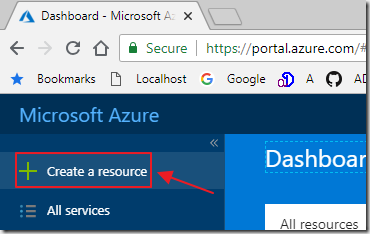
Click, Create a resource.
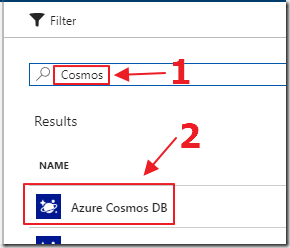
Search for Cosmos and select Azure Cosmos DB.
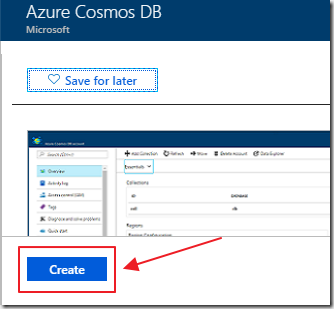
Click Create.

Configure the settings and click Create.
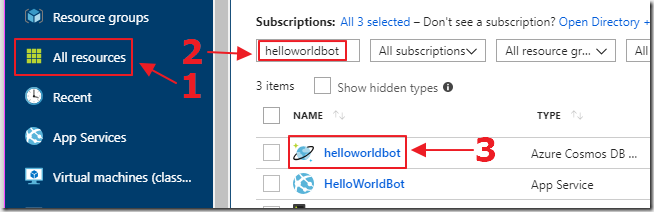
After the resource is created, you can always locate it in All resources.
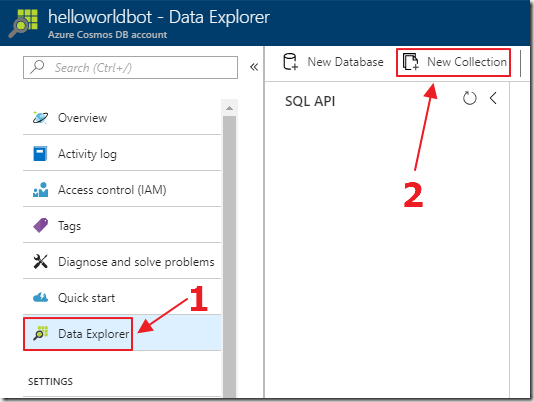
Select the resource then Data Explorer, then New Collection.
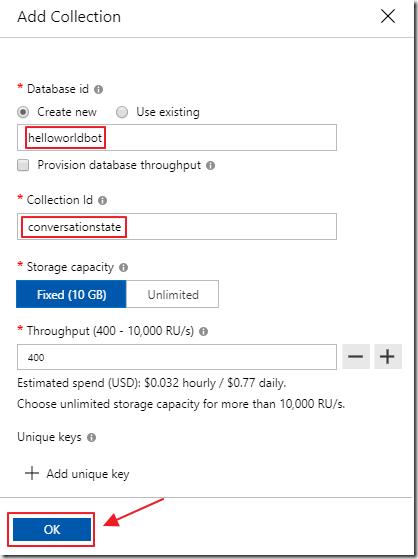
Create a database called helloworldbot and a collection called conversationstate.

Add another collection to the helloworldbot database called userstate.
Note: Be real careful what you set the “Throughput” to. The default is really costly. Start with 400 (the lowest).
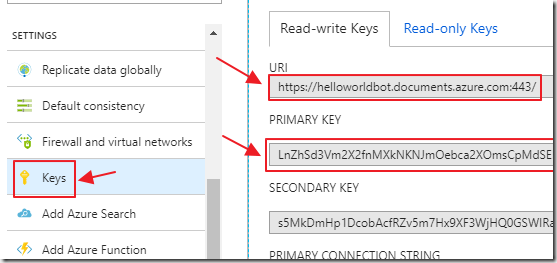
After the collections are created, click on Keys and copy the URI (this is the service endpoint) and the Primary Key (this is the auth key).
Save them, you will need them later.
Set Up Middleware
To use Azure Table Storage, we need to install some supporting assemblies and configure the middleware.
Open the project created in the article: Creating a Hello World! Bot (MS Bot Framework V4 Preview Edition) in Visual Studio 2017 (or higher).
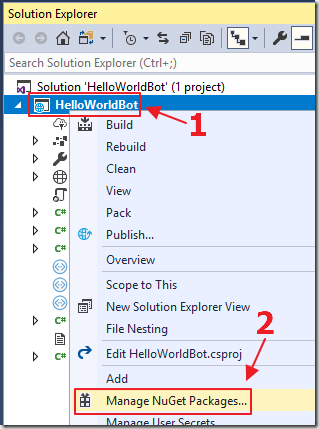
Right-click on the project node and select Manage NuGet Packages.
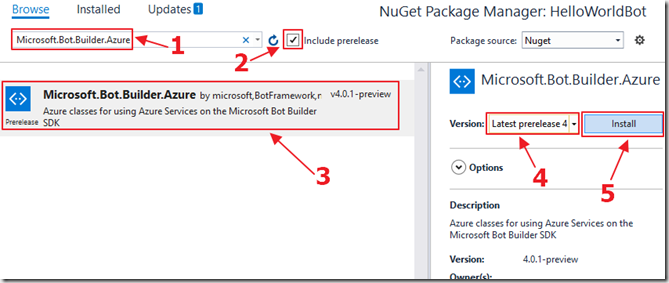
Search for Microsoft.Bot.Builder.Azure.
Select include prerelease.
Click on Microsoft.Bot.Builder.Azure, then click the Install button.
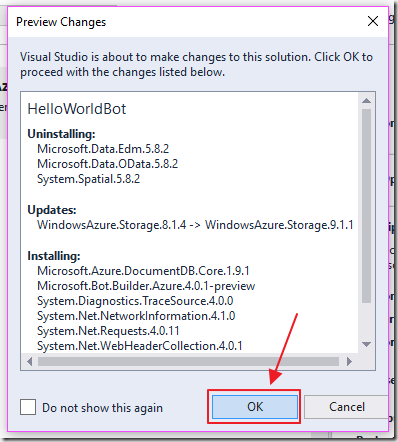
Click OK.
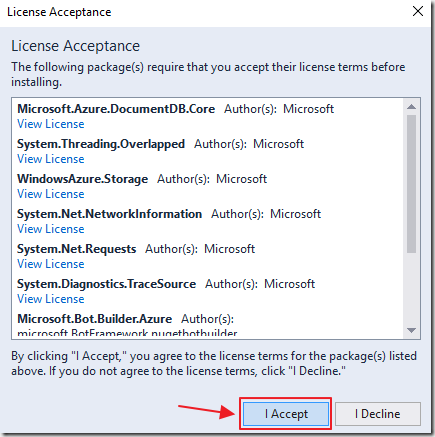
Click I Accept.
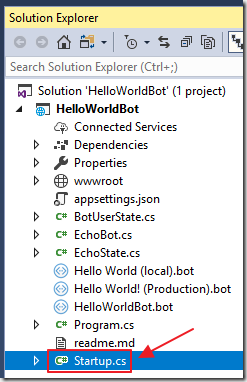
Open the Startup.cs file.
Remove the following lines (that used in-memory storage):
    // The Memory Storage used here is for local bot debugging only. When the bot
    // is restarted, anything stored in memory will be gone.
    IStorage dataStore = new MemoryStorage();
    options.Middleware.Add(new ConversationState<EchoState>(dataStore));
And replace with:
            var uri = new Uri(@"** service endpoint **");
            IStorage dataStoreConversationState =
            new Microsoft.Bot.Builder.Azure.CosmosDbStorage(uri,
            "** auth key **"
            , "helloworldbot"
            , "conversationstate");
            IStorage dataStoreUserState =
            new Microsoft.Bot.Builder.Azure.CosmosDbStorage(uri,
            "** auth key **"
            , "helloworldbot"
            , "userstate");
            options.Middleware.Add(new ConversationState<EchoState>(dataStoreConversationState));
            options.Middleware.Add(new UserState<BotUserState>(dataStoreUserState));
Note:
- Enter the URI (this is the service endpoint) you saved earlier where it indicates ** service endpoint ** (it must be between the quotes)
- Enter the Primary Key (this is the auth key) you saved earlier in both places where it indicates ** auth key ** (it must be between the quotes)
The middleware is now configured to store conversation state and user state data. However, the code will not compile because there are supporting classes for the user data that are still required.
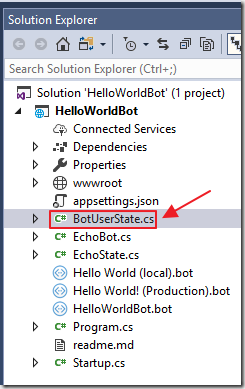
Create a file called BotUserState.cs using the following code:
using System;
using System.Collections.Generic;
using System.Linq;
using System.Threading.Tasks;
namespace HelloWorldBot
{
    /// <summary>
    /// Class for storing user state.
    /// </summary>
    public class BotUserState
    {
        public bool AskedForUserName { get; set; } = false;
        public string UserName { get; set; } = "";
    }
}
The code should now compile (use Ctrl+Shift+B).
Update The Bot Code
We will now alter the Bot to determine if it has asked the user for their name, if not, we will ask the user for their name, greet them by that name, and then store that name in user state data.
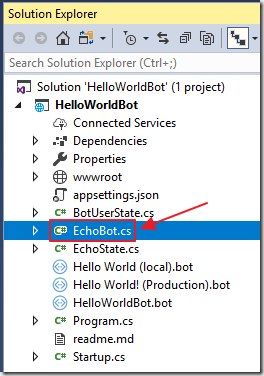
Open the EchoBot.cs file.
Change the OnTurn method to the following:
       public async Task OnTurn(ITurnContext context)
        {
            // This bot is only handling Messages
            if (context.Activity.Type == ActivityTypes.Message)
            {
                // Get the conversation state from the turn context
                var state = context.GetConversationState<EchoState>();
                // Get the user state from the turn context
                var userstate = context.GetUserState<BotUserState>();
                // Bump the turn count.
                state.TurnCount++;
                if (!state.boolSaidHello)
                {
                    // Handle the Greeting
                    string strMessage = $"Hello World! {System.Environment.NewLine}";
                    strMessage += "Talk to me and I will repeat it back!";
                    // If we have not asked the user for their name -- ask it now
                    if (!userstate.AskedForUserName)
                    {
                        strMessage += " Tell me, what is your name?";
                        // Set AskedForUserName so we don't ask again
                        userstate.AskedForUserName = true;
                    }
                    await context.SendActivity(strMessage);
                    // Set boolSaidHello
                    state.boolSaidHello = true;
                }
                else
                {
                    // If AskedForUserName is true
                    // But UserName is blank
                    // The user must be telling us their name
                    if (userstate.AskedForUserName && userstate.UserName == "")
                    {
                        // Store the UserName
                        userstate.UserName = context.Activity.Text;

                        // Say hello!
                        await context.SendActivity($"Hello '{userstate.UserName}'!");
                    }
                    else
                    {
                        // Echo back to the user whatever they typed.
                        await context.SendActivity($"You said '{context.Activity.Text}'");
                    }
                }
            }
        }
Run The Updated Code
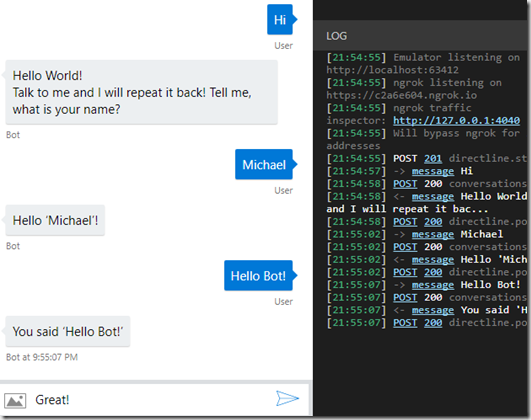
We can now run the application and connect to it with the Bot Framework Emulator (V4 PREVIEW) (see: Creating a Hello World! Bot (MS Bot Framework V4 Preview Edition) for information on how to do that).
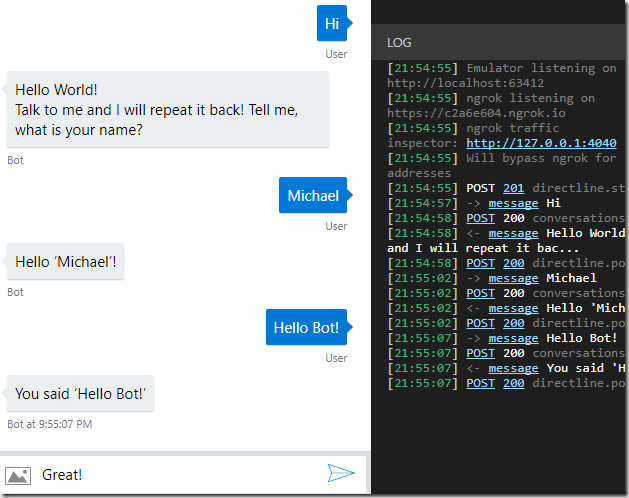
The Bot will ask a user for their name only once, and it will repeat it back to them.
We can open the Microsoft Azure Storage Explorer, and connect using our Azure account we used to create the Azure Storage resource.
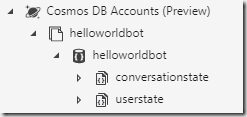
We can navigate to the database and click on the conversation state and user state tables.

When we click on each table, we can view the data, edit the data, or delete the data (for example if we want to start over for testing).
Links
Azure Bot Service Documentation for the v4 SDK
Save state using conversation and user properties
Persist user data from a conversation
Conversational AI: Best Practices for Building Bots
Download
You can download the code from the Download page